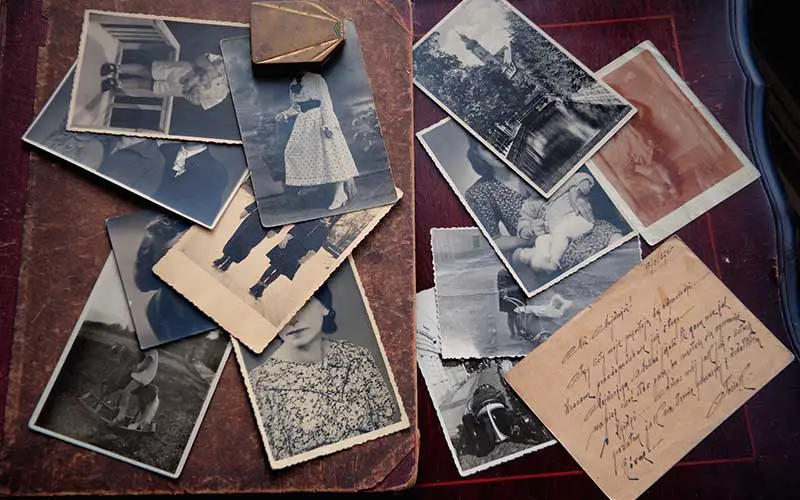
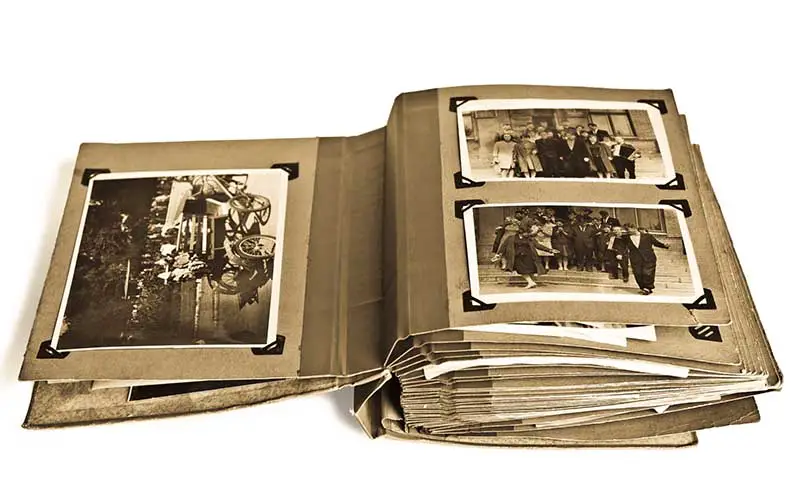
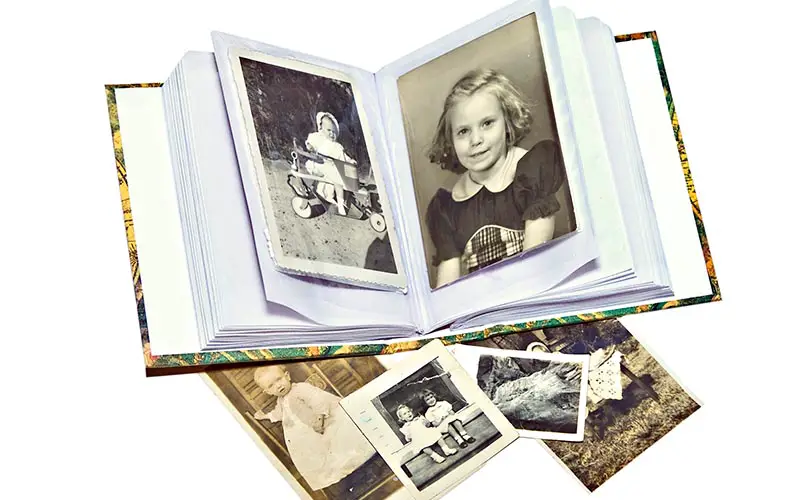
Inside: How to organize genealogy photos for easy access and reference.
For many of us, knowing where we came from is not only a source of interest but a source of comfort.
Being able to have physical or digital copies of ancestors we have never had the chance to meet gives us a glimpse into the past and helps us see those physical features and ways of living that are unique to us and our families.
Too often, however, massive amounts of family photos are accumulated, we get overwhelmed, and we end up throwing all pictures together in a box, never to see the light of day again.
To understand and appreciate your family’s history and share it with your children and their children, organizing your photos is of utmost importance.
Take a look below for some tips on how to get started and the best ways to organize your genealogy photos.
Contents
10 Ways to Organize Family History Photos
If you have a LOT of photos accumulated over many years—going through and organizing them can be a daunting prospect.
Any time you are overwhelmed by a project, breaking it down into smaller goals is the way to go, and organizing your genealogy photos is no different.
Clear an out-of-the-way space and set aside some uninterrupted time to pre-organize your pictures.
Separate

Next, loosely organize your pictures into separate piles.
This can be done in various ways but choose the one that you are most comfortable with and will be easiest for you to remember.
Some options include sorting the pictures by:
- Location. For example, if you took a vacation to the Grand Canyon, as you come across pictures from that trip, place them all in one pile.
- Period of time. This might get a little tricky if you are organizing photos of relatives you have never met, but one way to do this is to place black and white photos in one pile. Sometimes photos have the year they were taken at the bottom, and you can organize those photos into five- or ten-year time frames.
- Person or people. This is an excellent method of sorting if you are especially interested in creating a timeline of a specific family member’s life or if you want to become more familiar with a specific family in your history.
Pare Down
Now that you have sorted your pictures into smaller piles, the next thing to do is go through each pile, decide which pictures to keep and get rid of.
It can seem counter-intuitive to get rid of your pictures when you are trying to better understand your history, but by narrowing down your collection, you will actually be able to better focus and get to know that which most interests you about your family’s past.
You may end up looking through all the pictures you organized and realize that you are not interested in a particular aspect of your family history, or you want to focus on a different area of your family, such as one of your parents or grandparents, as opposed to distant cousins.
If you hate the thought that these pictures may be lost forever, there are two things you can do:
- Check with other family members to see if they want them and have the means to care for and organize them properly. You may not have the time, patience, energy, or interest to go through, track down, and record every detail of every picture yourself, but maybe a sibling or one of your cousins does.
- Check with a historical or genealogical organization in your area and see if they want the pictures. Perhaps your family has lived in a specific area for many generations, and having pictures could enhance their collection or help them understand the history of the area better.
Throwing Photos Out
However, as Devon Lee states, some pictures are simply not worth keeping and need to be thrown away.
Here are some questions to ask yourself when deciding which pictures to get rid of:
- Are there duplicates? If there is more than one of the same picture or pictures, toss the extras out (or give them to a family member who would want them). Maybe you have been keeping extra copies in case one gets destroyed but remember you can make a digital duplicate to back up your physical copy.
- Is the picture blurry? There are some cases where pictures can be restored, but blurry pictures are not one of them. If a picture is so blurry that you literally cannot make out the features of the people in it, then it is time to throw it away.
- Is there damage that renders the picture unrecognizable? Water damage, mold, or extreme sun exposure can destroy a picture. It may have been a wonderful picture at one point, but time and other factors can render it unusable and not restorable. Move them out of your collection to make room for the pictures that you think will be cherished by future generations.
Sorting in Chronological Order
Now that you have smaller piles, the next part of pre-organization is getting them into chronological order.
This may be a little tricky at first, but an easy place to start is by shifting the things around until similarly colored photos are together.
For example, place black and white photos together, sepia photos together, and full-color photos together.
Although there is a more intuitive approach: once you have spent enough time looking through the photos, you will start to recognize faces and notice signs of maturing or passage of time, and it will become simpler to place them in proper order.
How to Organize Genealogy Photos? Our Best Tips.
The pre-organization is done, you have some sort of system and an idea of what pictures should go where, and which pictures should stay together.
Next up is setting up files, folders, and albums that can be easily identified by others so that new photos can be added as time goes on.
It is recommended that you have both a physical organized space for your photos and a digitally organized space.
You can start by setting up the physical photo albums so you will have a place to look to for the basic idea of how you want your digital photos to be organized, though it will obviously look a bit different.
However, keep in mind that you will have to remove the physical photos from their albums to digitize them, so make sure you take thorough pictures of how and where you ordered them, so you know where to return them.
Organizing Physical Photos
The first and most important rule to remember when storing the physical copies of your photos is to make sure you are safely storing them.
Photos will eventually wear down, but there are ways to slow the process down so you can enjoy them for as long as possible and pass them on to the next generation(s).
Related: How to Organize a Genealogy Binder: The Complete Guide
Picking the Right Albums

First of all, never store your photos in an album that either uses adhesive backing or requires you to tape or glue the pictures to the album’s pages.
It may seem like a simple and effective way to keep your photos from slipping from their albums, but adhesive albums contain chemicals and acid that damage photos.
Similarly, many types of tape and glue contain acid, which will break down your pictures much more quickly.
Instead, choose acid-free albums with plastic sleeves to place each photo into.
The plastic sleeves will ensure that your photos stay in place without ruining them.
When you buy your photo albums, you can check on the package as it will state whether it’s adhesive-free.
Some options for adhesive-free albums on Amazon are:
- Zoview Art Photo Albums. A set of 3 and capable of holding up to 900 photos, this is a great option for getting a big collection into a compact space.
- DesignOvation Cydney. Another set of 3 albums capable of holding 100 5×7 pictures, or 200 4×6 pictures. It also has space to write descriptions of the photos and the people in them.
Labeling Your Albums
By this point, you most likely already have different family branches separated into different piles and have them in some kind of chronological order.
From here, you should label each album with the name of the family on the side, so it’s easy to read and identify.
It is recommended that you print the label, but if you’re not, make sure you write legibly in print letters.
For example, if it is a family with four children and you are creating an album for each child and their respective families, make sure you put both the first and last names on the label to be able to tell them apart as well as the time frame the photos within took place.
Some examples of this could be:
- Greg Phillips Family, 1980-1990
- Stacy Phillips Family, 1975-1980
Sometimes within families, there are specific events such as weddings, birthday parties, anniversaries, or special vacations that you want to have separate from general, everyday life photos.
Place them in separate albums with the label, including the name of the family, the event, and the date it took place.
It might look something like this:
- Greg Phillips Wedding. July 1, 1980.
- Stacy Phillips Family, Hawaii Vacation. September 8-15, 1977.
Putting the Pictures in the Album

From here, all you have left to do is put the pictures in the albums in their chronological order, oldest at the front and newest at the back.
With this system, you can simply add pictures directly to the album instead of letting them accumulate into huge and overwhelming piles that you will have to sort through later.
A little bit of effort in the moment will save you a lot of time and stress in the long term.
If you are a prolific picture taker, it may be good to have some extra acid-free albums on hand.
That way, if you fill up one album, you can simply start a new album.
If you do start a new album, make sure you label it as a continuation of the ones before it. For example:
- Greg Phillips Family, 1990-
- Stacy Phillips Family, 1980-
Organizing Digital Photos
Once you have organized the physical copies of your pictures in the way you like, it is time to move to making digital backups and organizing those in a similar fashion.
The first step before you scan any of your pictures into your computer is to make and label the folders that you will be placing them in so that you can put them directly in the folder to which they belong as soon as they are scanned.
If you have many photos, including those of relatives many generations back, then it should be labeled in a nesting box kind of way—folders within folders.
Taking it step by step it would look something like this:
- First, create a master folder with the family name.
- Within that master folder, create a subfolder with the first and last name of the ancestor you have taken an interest in.
- For each grown child of that ancestor, create a subfolder with THEIR first and last name.
- Keep creating subfolders for their children and continue until you reach present-day relatives.
The same as with physical copies, if there is a special event or an occasion that you want to be separated out, make and name the folder with the family’s name as such and place the proper pictures inside that folder.
Scanning
You have the folders set up in the exact way you want to organize them. Now you have the big task of getting all those pictures scanned.
This can be a daunting task when you have hundreds or even thousands of pictures to back up. One thing you can do to make it less stressful is to invest in a quality picture scanner (it’s one of our recommended genealogy tools)
Some options include the following:
- Epson Fastfoto FF-680W. While a pricier option at just under $600, this scanner can scan stacks of photos and do so quickly.
- Plustek Photo Scanner. Less expensive than the Epson Fastfoto and capable of scanning pictures quickly (two seconds for a 4×6, 5 seconds for an 8×10).
- Kodak Scanza Digital Film and Slide. If you have film that you have not developed, this is the scanner for you. Able to convert that film into digital form, it also has a display that shows you what it will look like. It is priced at $159.
- Joyflips. For those on a very tight budget, this is a free app you can use on your computer, or you can use it on your phone. It allows you to scan your pictures and create albums directly.
Once you have the scanner set up and ready to go, scan the pictures album by album.
Once all the pictures from one album are on the computer, you can then place them into the corresponding file and sub files that you have already created and named.
As you add more pictures to your collection, immediately scan them and place them directly into the correct folder.
Outsourcing

Let’s be honest; you may not always have the time or patience it takes to digitize your entire set of genealogy photos.
Even with a top-notch scanner, it will still take a while to get everything put onto your computer, organized into the proper folders, and then put the physical copies of your pictures back in their proper album. Some people enjoy the process, but for some, it is too stressful.
If you are in this situation, one option is to hire a company that specializes in digitizing your photos.
Below are some companies that specialize in digitizing your photos:
- Pasttolast.com. Send them as few as 275 photos to as many as 1500, and they will scan them for you, send the physical copies back to you, and send you the digitized versions of your photos wherever you want.
- Dpsdave.com. You ship your pictures yourself; they send you a prepaid label, OR they send a box, label, and proper packing supplies for you to send your pictures to them. Once they have received your pictures, they scan them and place them in named files where you can easily find the pictures from a particular period or a specific event in your family.
Final Thoughts
Having pictures that tell your family’s history is very special, but to truly appreciate them, having them properly organized is priority number one.
The first part of any organizing process is to narrow down which ones to keep and which to get rid of, focusing specifically on the quality of the photo and getting rid of duplicates.
Whether you are organizing digital photos are creating physical albums, have them properly labeled with the name of each family and the time frame and/or of specific special events.
Use a scanner or hire a scanning company to help you digitize your special memories and keepsakes.
While it may be a lot of work upfront, once you take the leap and invest the time initially, keeping up with it will be as simple as adding pictures as you go.
Read next: 100 Family Interview Questions To Ask Your Relatives

